


Ceiling fans are an essential part of many households, providing both comfort and functionality. Among their various components, the light fixture plays a crucial role in maintaining a well-lit environment. If you own a Roto F ceiling fan, you might eventually encounter the need to replace the light bulb. Whether your bulb has burned out or you’re simply upgrading to a more energy-efficient option, this guide will walk you through the entire Roto F ceiling fan light bulb replacement process. With clear instructions and safety tips, you’ll be able to replace the bulb in no time.
Why Roto F ceiling fan light bulb replacement?
Ceiling fan light bulbs, especially in models like the Roto F ceiling fan, typically last for a long time. However, just like any other light fixture, the bulbs will eventually wear out due to prolonged use. Whether you have incandescent, CFL, or LED bulbs, each type has a limited lifespan, and replacing them is part of regular fan maintenance. A Roto F ceiling fan light bulb replacement not only ensures that your lighting works again but also helps maintain the fan’s performance and aesthetic appeal.
Preparing for the Roto F Ceiling Fan Light Bulb Replacement
Before starting the Roto F ceiling fan light bulb process, it’s essential to gather the necessary tools and materials. Taking these preparatory steps will make the replacement smoother and safer.
Materials You Will Need:
- Replacement bulb (make sure it’s compatible with the Roto F ceiling fan model)
- Step ladder or stool (if necessary)
- Screwdriver (if the light fixture cover is screwed in place)
- Cloth or microfiber towel to clean the fan components
Safety First: Turn Off Power
Before beginning the Roto F ceiling fan light bulb replacement, always turn off the power. This can be done by switching off the light at the wall switch, or for added safety, you can turn off the circuit breaker that powers the fan. This simple but crucial step prevents any risk of electric shock.
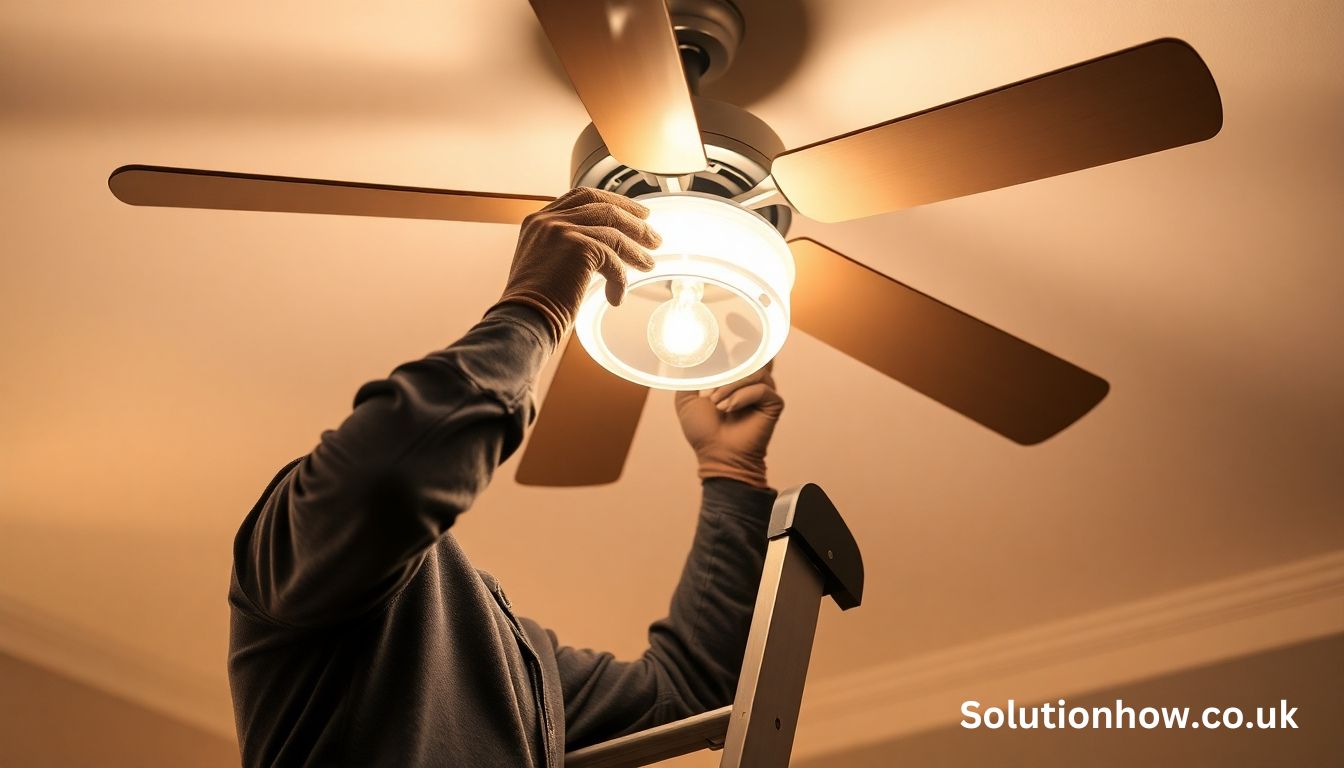
How to Replace the Light Bulb in Your Roto F Ceiling Fan
Now that you’ve prepared the necessary materials and ensured safety, it’s time to begin replacing the bulb in your Roto F ceiling fan. Follow these steps for a successful replacement:
Step 1: Remove the Light Fixture Cover
Most Roto F ceiling fan models come with a protective light cover, typically made of glass or plastic. This cover is essential to keep the bulb safe from dust and damage.
- If the light cover is secured with screws, use your screwdriver to carefully remove them.
- If the cover is clipped in place, gently press or pull the clips to release the cover.
- For twist-off covers, rotate the cover counterclockwise until it detaches.
Step 2: Remove the Old Bulb
With the cover out of the way, you can now access the light bulb. Depending on the type of bulb in your Roto F ceiling fan, you may encounter different types of connections.
- Screw-in bulbs: Simply twist the bulb counterclockwise to remove it from the socket.
- Pin-based bulbs: Gently pull the bulb out of the socket by aligning the pins with the slots.
If the bulb is broken or cracked, be extra cautious and wear gloves to avoid injury from shattered glass.
Step 3: Inspect the Bulb Socket
Look for any exposed wires, signs of wear, or corrosion. A faulty socket can cause issues with the new bulb and could be a safety concern. If you notice any issues with the socket, it’s best to consult a professional before proceeding with the Roto F ceiling fan light bulb replacement.
Step 4: Install the New Bulb
Now it’s time to install the new bulb. Make sure the replacement bulb matches the specifications recommended for your Roto F ceiling fan. Check the wattage and type of bulb (LED, CFL, etc.) and confirm that it fits properly.
- For screw-in bulbs: Insert the bulb into the socket and twist it clockwise until it’s securely in place.
- For pin-based bulbs: Align the pins of the bulb with the socket and gently press it into position.
Once the new bulb is installed, check to make sure it is seated correctly.
Step 5: Reattach the Light Cover
With the new bulb securely installed, it’s time to replace the light cover. Carefully align the cover with the fixture and reattach it.
- If the cover is held by screws, use your screwdriver to secure it tightly.
- If the cover uses clips, snap them back into place.
- For twist-on covers, rotate the cover clockwise until it’s securely in place.
Step 6: Restore Power and Test the Light
Finally, it’s time to restore the power to the fan. Turn the wall switch back on or flip the circuit breaker to its original position. Test the light by turning it on and verifying that the new bulb works as expected.
If the light doesn’t turn on, double-check the installation, ensuring the bulb is properly installed and the power is turned on. If issues persist, there may be a problem with the socket or wiring, and you should contact an electrician.
Troubleshooting Common Issues

Sometimes, even after following all the steps, problems may arise during the Roto F ceiling fan light bulb replacement.
1. The Light Won’t Turn On
If the light doesn’t illuminate after installing the new bulb, the issue could be with the power supply, bulb, or socket.
- Check the power supply: Ensure the power is fully restored by testing other electrical devices on the same circuit.
- Test the bulb: Make sure the new bulb is functional by trying it in another light fixture.
- Inspect the socket: Check for any loose connections or visible damage to the socket.
2. The New Bulb Flickers
Flickering can be caused by a loose connection, improper bulb installation, or a faulty socket. Try removing and reinstalling the bulb to ensure it’s securely in place.
3. Bulb Burned Out Quickly
If the new bulb burns out too quickly, it could be due to an electrical problem, such as an issue with the wiring or voltage.
Also Read: Eggfinder TX Rev C5
Tips for Maintaining Your Roto F ceiling fan light bulb replacement
To ensure your Roto F ceiling fan light bulb lasts as long as possible, follow these simple maintenance tips:
- Use energy-efficient bulbs: Consider upgrading to LED bulbs, which consume less energy and have a longer lifespan compared to traditional incandescent bulbs.
- Keep the fan and light fixture clean: Dust and dirt can accumulate over time, reducing the efficiency of the light and fan. Regularly clean the fan blades and light cover with a soft cloth.
- Turn off the fan when not in use: To prolong the life of both the fan and the bulb, switch off the fan and light when they’re not in use.
- Check for loose connections: Periodically check the socket and wiring for any signs of wear or damage.
Conclusion
Replacing the light bulb in your Roto F ceiling fan is a relatively simple process, but it’s essential to follow the right steps for safety and efficiency. By ensuring the power is turned off, using the correct replacement bulb, and carefully reassembling the light fixture, you can restore your ceiling fan’s lighting quickly and safely. With the added maintenance tips, your Roto F ceiling fan light bulb replacement will continue to provide bright, reliable illumination for years to come. If you encounter any difficulties or aren’t confident in performing the replacement yourself, it’s always a good idea to consult a professional electrician for assistance.